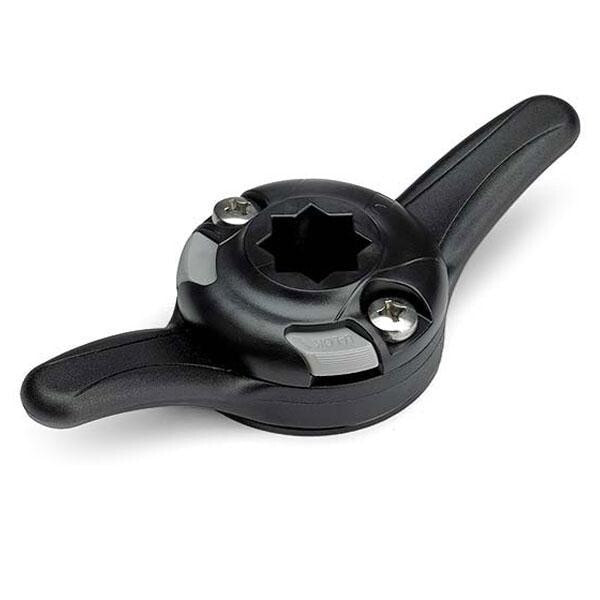
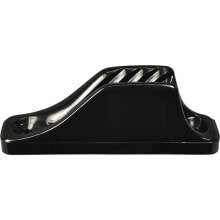
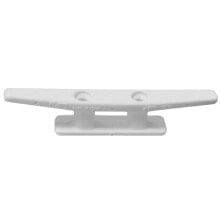
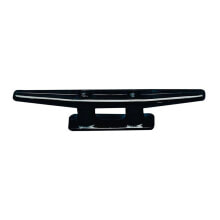
RAILBLAZA Cleatport Mooring Cleat
Бестселлер
- Артикул:
- 108325091


29 $
Характеристики
Прочие свойства
- Бренд
- Railblaza
Свойства
- Цвет
- Черный
Описание
Two applications in one.
it´s a simple idea, but very effective. Now your cleat can hold your fishing rod, mobile phone, drink, navlight, or anything else that a RAILBLAZA accessory can hold.
The cleat gives you a tie off point for stern lines and bow lines on small craft.
The StarPort gives the extra functionality of adding any RAILBLAZA accessory.
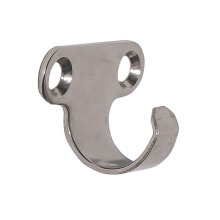
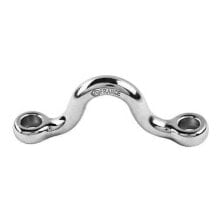
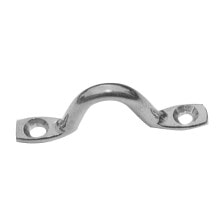
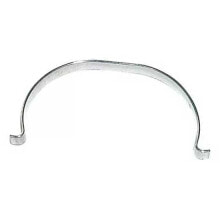
Also included is our unique backing plate (pictured below), designed to keep stainless fastenings isolated from aluminium decks to avoid corrosion
Specifications:
What You Get:
- 1 x CleatPort Moulding
- 1 x StarPort
- 1 x Backing plate
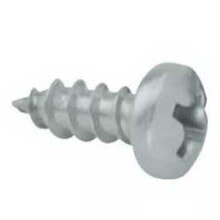
- 2 x M6 x 25mm Machine Screws
- 2 x M6 x 35mm Machine Screws
- 4 x M6 Nuts
- 4 x M6 Washer
Construction Materials:
- CleatPort UV stabilised fibreglass reinforced nylon plastic
- StarPort UV stabilised AES plastic
- Locking Slide UV stabilised PC plastic
- Stainless steel fasteners
- Recyclable packaging
MOUNTING INSTRUCTIONS:
- Drill holes using the backing plate as a guide.
- Stack plate and cleat in place then fit the two M6x25 screws in the two holes in line with the cleat handles.
- Tighten nuts or screw heads to a firm tension.
- Position StarPort on top lining the holes up with the two spare holes on the Cleat and fit the two M6x35 screws
- Repeat Step 3.
Ensure you have adequate clearance behind the surface for screw and/or bolt penetration, and that no cabling, plumbing or rigging will be adversely affected.


Для товаров раздела палубное оборудование Railblaza мы подобрали поставщиков оригинальных брендовых европейских. Заключили партнерские отношения с аутлетами и дискаунтерами. Оптимизировали доставку из-за рубежа до конечного потребителя не расходуя средства на торговые и выставочные помещения. Отправляем товар напрямую с зарубежных складов на адрес покупателя, что делает цены ниже чем в российских магазинах.
Покупать оригинальные брендовые товары дёшево и быстро в нашем интернет-магазине безопасно и быстро. Отслеживание заказа доступно на всех этапах покупки и работает сразу после оплаты заказа.